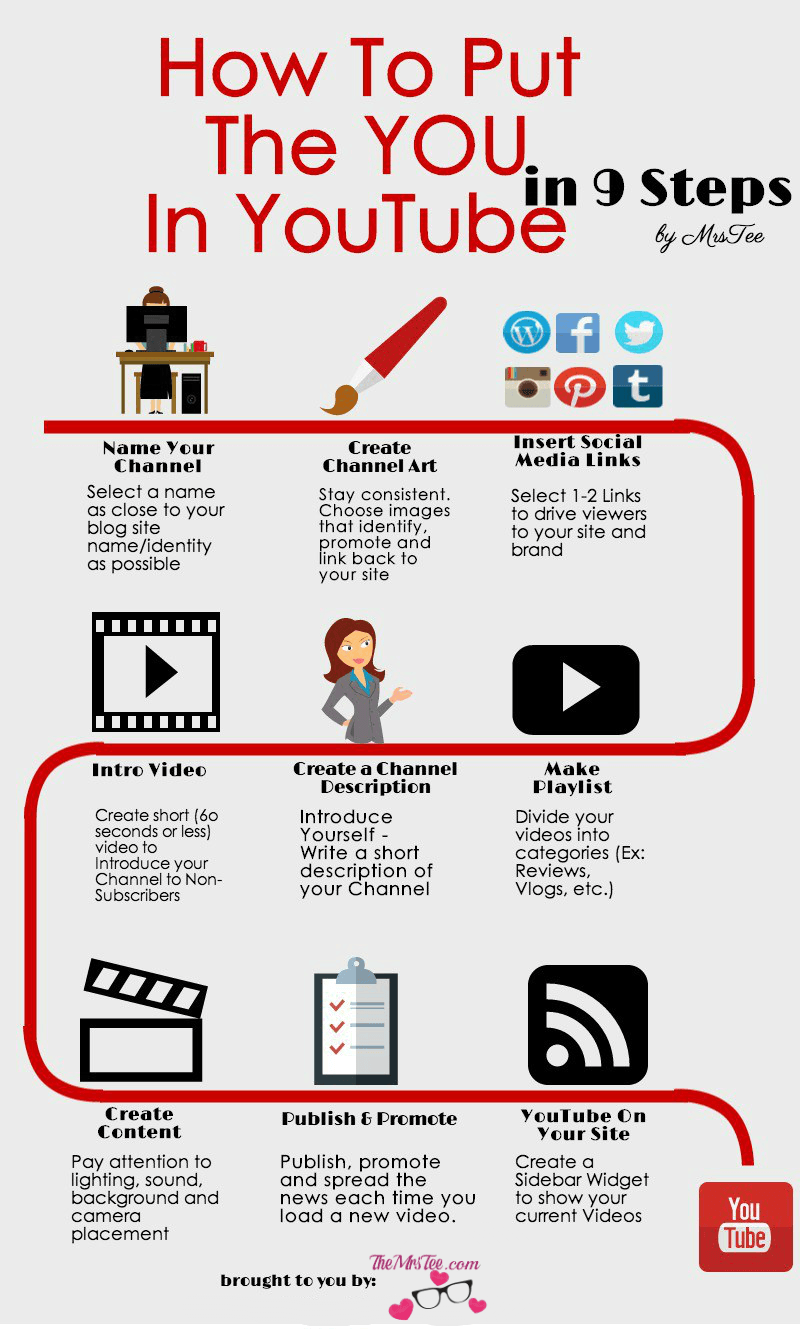
When it comes to our websites I know every Blogger takes a lot of time to have their site be a direct reflection of who they are. After all our sites are usually the first impressions someone gets of us as a writer and even as a brand. Yet, did you know there is a way to extend your site even further? YouTube is an often forgotten and neglected tool but I want to show you how to put the YOU in YouTube in 9 steps. That’s right you can personalize your presence in this fast growing area of Social Media in 9 steps.
Name Your Channel
Of course the very first step is creating and naming your channel. When you select a name for your YouTube Channel be sure you are consistent. Having your brand recognizable and known across all of your social media relies strongly on making it easy to find. Also, we all know that as a standard your YouTube URL is assigned that series of numbers but changing that to a Custom URL will not only make it easier for sharing and viewers to recognize and connect with your site Changing your URL from the numbers to your name is easy:
From your YouTube Channel Go To Advanced Settings
Go To Channel Settings and select Create Custom URL
This is where you can select your name
Try to select a name that is either the same as your site or as close to it as possible. For example, although MrsTeeLoveLifeLaughter was too long for YouTube I was able to secure TeeLoveLifeLaughter which makes my YouTube URL http://YouTube.com/TeeLoveLifeLaughter instead of a bunch of hard to remember numbers.
Create Channel Art
Once you have your name created you want to make your Channel look like you. You can either use the same header as you have for your website which will carry over the consistency I talk about or you can use your Channel Art area to give your viewers a visual summary of you and your Channel. Even if you don’t use your exact site header try to include a few images from your site whether it be a badge, profile image or even the font so that readers coming from your site can instantly recognize it as part of the same identity. How To Change Your Channel Art:
Login in to your Channel
Hover over the right corner of your current art until the edit icon appears and click it
You can upload an image use a still frame of a current video
YouTube offers a Template for the sizes you need for PC, Phone and even TV
You can use the Template to create image in a photo editor such as PicMonkey
Here is my Channel Art:
 YouTube will automatically place your Google+ Profile Image to the upper left hand corner but the rest of the Channel Art is your’s to customize. I include a small version of my site header, a few of my Playlist Topics and what I will cover on My Channel. I also took advantage of the space to include a prompt to Follow Me on 3 of my main Social Media Networks.
Insert Social Media Links
Do you see there, at the lower right corner of my Channel Art? There is a place where you can insert a clickable overlay of a few of your Social Media links. This will allow viewers to click them and be taken directly to the URL you attach them to. I have chosen to only include 1-2 in addition to my Site itself because the more you include the further the extend and cover your Channel Art. I chose my Google+ and Facebook Pages. *This is why I used my Channel Art to include my Twitter, Instagram and Pinterest Username
Intro Video
Did you know that YouTube offers the option of including an Introduction Video to those users who may come across your Channel but have not subscribed yet? This is an amazing opportunity to offer a preview of your Channel and give them a reason to click that Subscribe Button. Consider it a trailer for your Channel. I suggest keep the Video under 60 seconds, all you want to do is give the perspective viewer a quick look at what you and your Channel are about. You know the way you introduce yourself with the About Me Page on your site? This is an About Me for your Channel in Video form. You can either make a short clip of photos, an actual action clip or a combination of the two. Take a look at mine:
Create Your Channel Description
It is really important to create a short description of your Channel, much like your Intro Video this description can be what makes or breaks a person’s decision to subscribe. Keep it short and to the point but be sure you include your focus topics and a bit of something about yourself.
Divide Your Videos Into Playlists
Playlist on your YouTube Channel are much like our Categories for posts. It gives readers a way to see your content in order of topic. This makes it easy for a viewer to go straight toy our Reviews, Tags or Vlogs without searching through your entire Channel. Having Playlist is also a great way for a potential Brand or Advertiser to see what your Channel has at one glance.
Create Content
Now that you have put the YOU In YouTube you can create your content. Whether your Channel is going to be a Vlog, Review or Video Diary you need to pay close attention to the quality of your videos. A few things to keep in mind when recording: Lighting – try to avoid shadows and dark spots; keep your light to the front of your face Sound – be sure you can be heard and minimize all background noise as much as possible Camera Placement – I prefer my videos to up close and personal but this is a personal choice. Just be sure wherever you place your camera it is steady (a tripod is the best investment for anyone who is going to record often). Editing – You don’t have to over do it but a bit of editing can go a long way to making a first impression. You can also take advantage of this chance to include your site, product plugs, etc. within your video.
Publish & Promote
Now that you have an awesome Channel, engaging content, and creative editing it’s time to Publish. Be sure you go over your Description, Notes and Tags. Much like a Blog Post these are all available for your video and you want to be sure you use them to the fullest. If you are Publishing a Review be sure to include a Disclosure within your description. After you have published, you need to promote. Although YouTube may be a bit harder to promote than a post you can still do it. As you Edit you have the option to Share directly to your Google+ and Facebook Pages. After you have done that be sure to go back in and Share to some of your other Social Media Networks through the Share Tab.
YouTube On Your Site
Don’t let your YouTube Channel simply stay on YouTube. Draw your Readers into becoming Viewers by including your YouTube in your Site Presence as much as possible. There are PlugIns available that allow you to place your most recent YouTube Videos on your Sidebar. Reference your YouTube within post or your branding often. There are times I write a short post to support a YouTube Video so that I can post the video within and have them on both my Website and my YouTube Channel. That’s it! 9 Steps to put the YOU in your YouTube Channel and increasing your presence and impact. YouTube is a great way to give your Readers a chance to know you a bit more personally, it also gives them a chance to put a face and voice to your written words turning them into potential Viewers.
Have you started a YouTube Channel yet? What do you think of YouTube as an extension of your Blog?
- The ‘Dirt’ on Dirty Whiskey Craft Cocktail Bar – August 6, 2021
- I Never Went To Prom – Will A Fashion Show Do? – May 1, 2021
- Cape Fear Regional Theatre – Best In The House – May 1, 2021





Leave a Reply